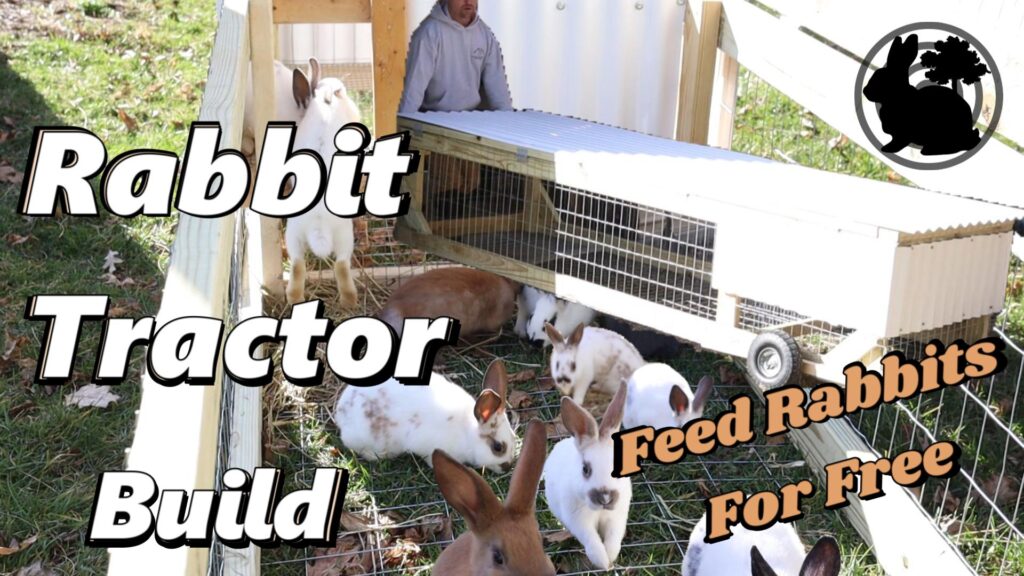
Living next to the woods, I needed a rabbit tractor prioritizing safety. Many designs lack a cage floor, risky with predators around. Our solution: a spacious, durable tractor with wheels for easy mobility, ensuring safety from predators and escape attempts. Ideal for raising rabbits, whether for growth or companionship, and suitable for larger cage setups.
Lumber & Supplies Needed:
Purchased at Home Depot 3-2-24 Pricing is per single unit
(5) 8′ 2×4’s Treated 3.98
(4) 10′ 2×4’s Treated 6.98
(3) 8′ 2×3’s Non Treated 2.49
(2) 10′ 2×4’s Non Treated 5.97
1-lb. of 3″ exterior screws 8.97
1 box of 1/2″ staples 5.78
1 box of 3/4′ narrow crown staples 9.96
(4) 3″ galvanized hinges 2.98
(1) 50ft Roll of 36″ 2″x 4″ 14G cage wire 49.96
(3) 12′ pieces of white corrugated plastic 24.98
1-box of 50 1″ corrugated plastic screws 5.98
TSC Store:
Wheels & Tires & TSC -15.00
(2) 6″ bolts x 1/2″ 1.00
(2) 5″ bolts x 1/2″ 1.00
(2) 4″ bolts x 3/8″ + (2) nuts + (4) washers 1.00
(12) 1/2″ washers 1.00
Step By Step Build Instructions
Be sure to refer to the video when following these instructions:
step 1- using the 8′ treated 2×4’s cut (4) 24″ pieces
step-2 attach to 24″ pieces on the ends of the 10′ treated boards
step -3 using the 8′ treated boards cut (7) 36″ pieces
step 4 using a vise grip, attach (2) 36″ end pieces at each end of the 10′ boards
step 5 using a vise grip, attach (2) treated 10′ boards at the top of the 24″ boards
step 6 attach (2) 36″ end pieces at the top of the 24″ pieces
step 7 Cut 45 degree at the ends(like a picture frame) of two treated 10′ boards
step 8 Cut 45 degree at the ends of (2) 36″ pieces
step 9 Place on a flat surface and toe-nail 3″ screws in the ends connecting all four pieces
step 10 Place the top frame on top of the build and screw in the remaining 36″ piece on top
step 11 Using an 8′ treated board cut (4) 13.5″ pieces and cut 45 degrees on the ends
step 12 attach these the the 24″ uprights and framing
step 13 Using a 2×3 cut (2) 29″ pieces and attach them to the top frame 34″ from the end pieces
step 14 Roll the 36″ cage wire over the top and attach with 1/2″ staples, cut with angle grinder
step 15 Remove top, flip over tractor and now repeat attaching cage wire to the bottom
step 16 Roll tractor on it’s side to make stapling the bottom & sides easier
step 17 cut and attach (2) untreated 24″ 2×4, 26″ from the inside of the corner 2×4’s edge-refer to video
Step 18 Cut (20) 31″ 2×3’s and cut a 45 degree angle on one end-attach so the top of the 2×3 is 9″ high
step 19 Attach a 36″ 2×3 on the back and a 33″ 2×3 in the front of the enclosure
step 20 Using a 36″x 36″ piece of cage floor bottom lay over top and mark and cut out cage wire
step 21 staple 1/2″ staples in and around framing to attach cage floor bottom
step 22 cut (2) 33″ 2×3’s and attach one below the front and the other at the top of the enclosure
step 23 cut a 15″ 2×3 and attach to the front of the enclosure for the door 10″ from the end
step 24 cut a CP (corrugated plastic) piece to size and attach to the front using 1″ CP screws
step 25 Starting at a corner, staple cage roll at the end and wrap cage wire around tractor-& staple on
step 26 Cut excess cage wire all the way around the top of the tractor and remove wire
step 27 Cut (5) 15″ CP pieces for the sides of the encloser-attach using CP screws
step 28 Attach (4) hinges on the top door, you may need to removing some siding to attach
step 29 Place (2) CP sheets over the top and cut to length for your desired over hang/attach using CP screws
Step 30 Using braided line or paratrooper cord install a stop/catch to prevent the door from over-opening
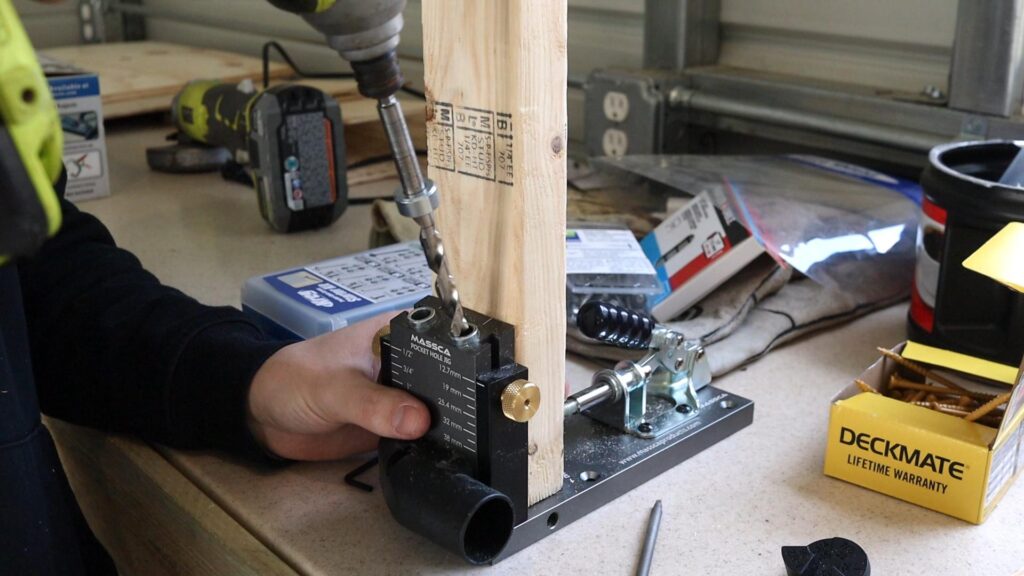
step 31 Cut a 46″ non treated 2×4 – Now cut 12″ off that- rip both pieces in half (set 12″ pieces a side)
Step 32 On both 2×2’s, drill a 1/2″ hole 2″ from the end, Now drill 1/2″ hole in the middle
Step 33 Drill a 1/2″ hole in the middle of the bottom 2×4 frame and through the 24″ upright
Step 34 Connect the wheel to the 2×2 with the 5″ bolt using a washer on each end of the wheel
Step 35 Bend the cage wire slightly so you can work your hands into the cage to install the 6″ bolt
step 36 attach the 2×2 to the framing using 6″ bolt and place 3 washers on the outside of the frame
step 37 Drill a 4″ 3/8 hole 2-3″ from the front of the enclosure, right in the middle of the bottom frame and install a 3/8 bolt to the frame.
Step 38 Lastly, Attach the 12″ 2×2’s to the 24″ uprights on the opposite wheel end, you may need to cut the cage wire to attach, pilot holes for 2×2’s, sand handles
Note* When Engaging Wheels-push on the side of the tractor and down on the 2×2’s simultaneously