How to Build Durable Rabbit Cages for a Healthy, Professional Rabbitry
Hi everybody, Bobby from the Rabbitry Center here. Today I want to walk you through exactly how we build our rabbit cages, why we chose cages over colony raising, and what materials actually last long-term. This method has worked for us for years and supports both animal welfare and a professional rabbitry operation.
If you’re raising rabbits for meat, breeding, or sales, this guide will help you build cages that are durable, hygienic, and easy to manage.
Why We Use Cages Instead of Colony Raising
When we first started, our goal was simple: meat production. But one thing led to another, and soon we were selling rabbits, taking reservations, and helping other families start their own rabbit meat operations.
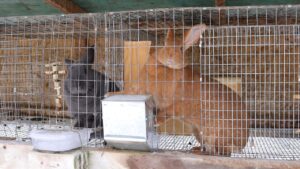
We chose cages because they allow us to:
Inspect every rabbit and litter easily
Control breeding accurately
Ensure rabbits are free of fleas, ticks, wounds, and scars

Monitor health before a rabbit is sold
Get the most productivity out of our breeding does
When you’re selling rabbits or taking deposits, the last thing you want is to discover a health issue in an animal that’s already spoken for. Cages make consistent care possible.
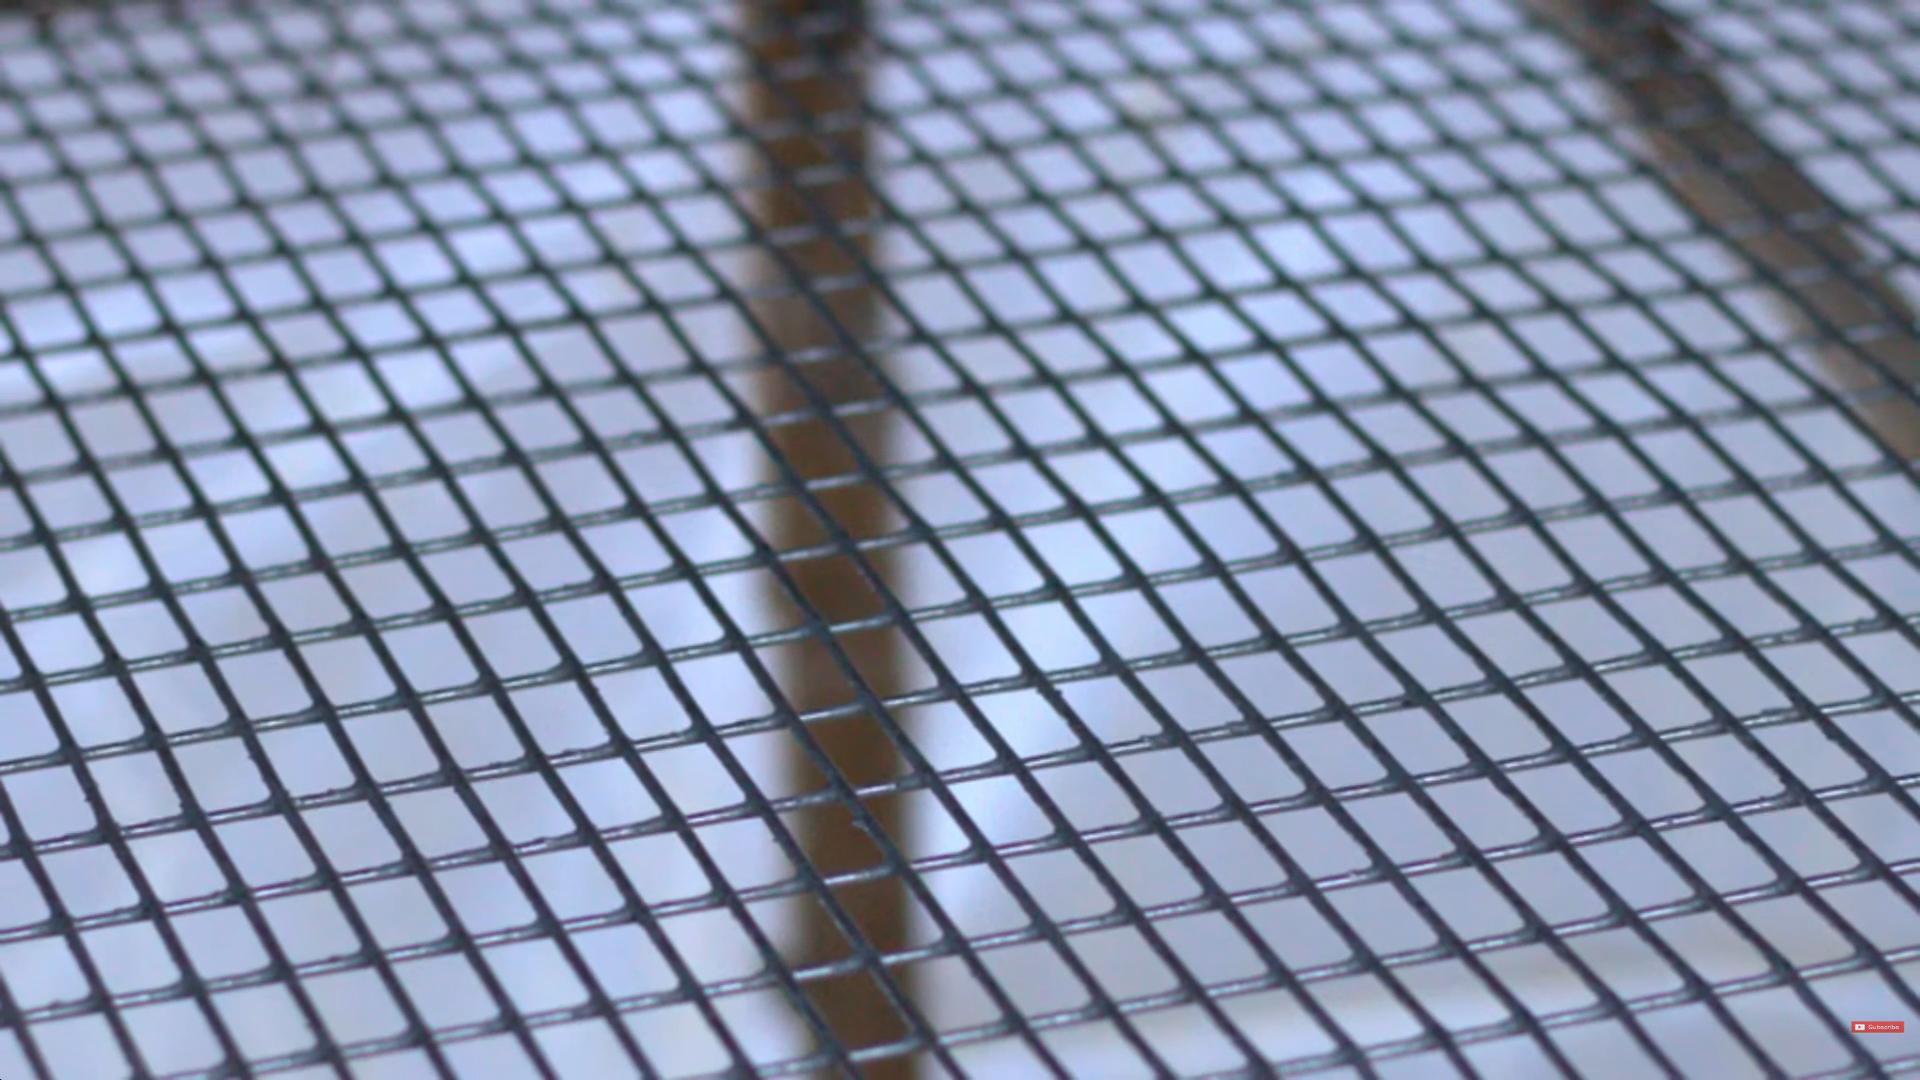
Choosing the Right Cage Wire (This Matters)
Not all rabbit cages are created equal.
Avoid Painted Pet Store Cages
Many store-bought cages are made with painted wire that’s baked on, not galvanized. These cages:
Rust quickly

Don’t hold up outdoors
Need frequent replacement
Use Galvanized Wire Instead
Galvanized cage wire is designed for outdoor use and can last decades. It costs more upfront, but the difference is night and day. You truly get what you pay for.
Proper Wire Size and Gauge for Rabbit Cages
Side and Top Panels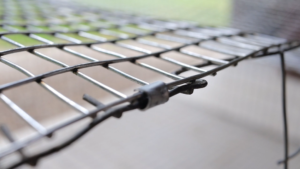
Wire size: 1 inch x 2 inch
Strong, breathable, and easy to work with
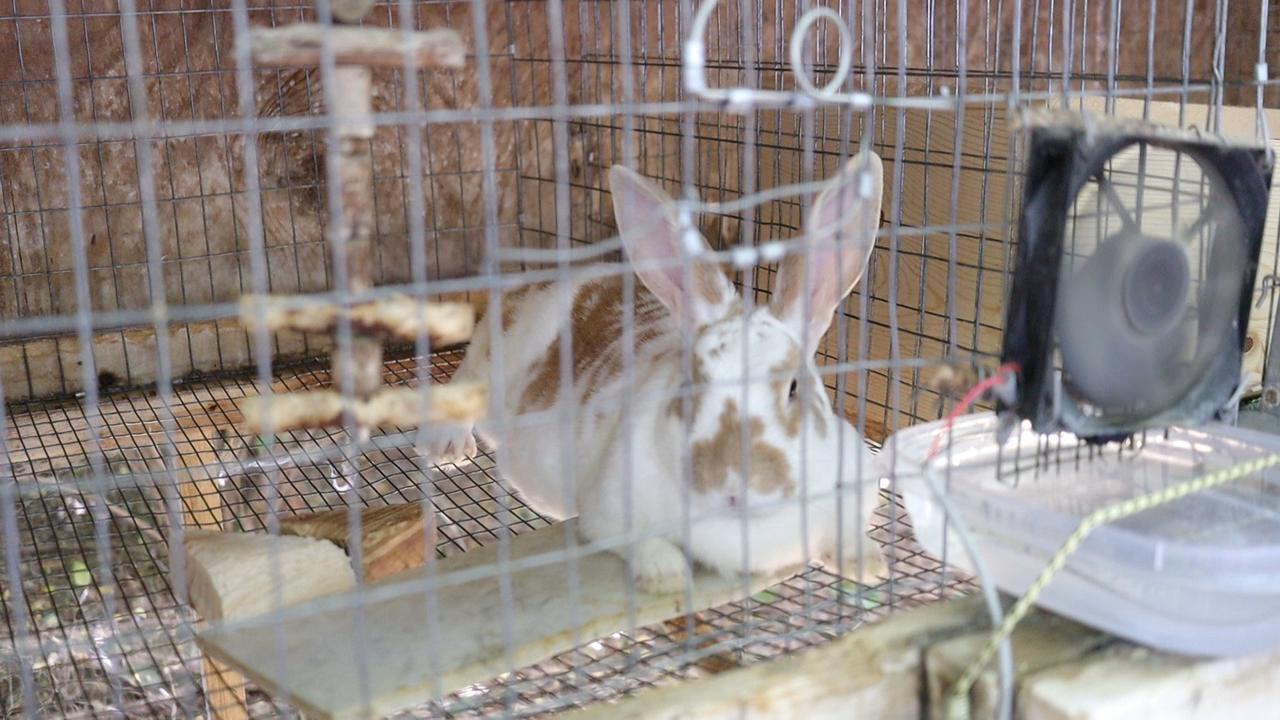
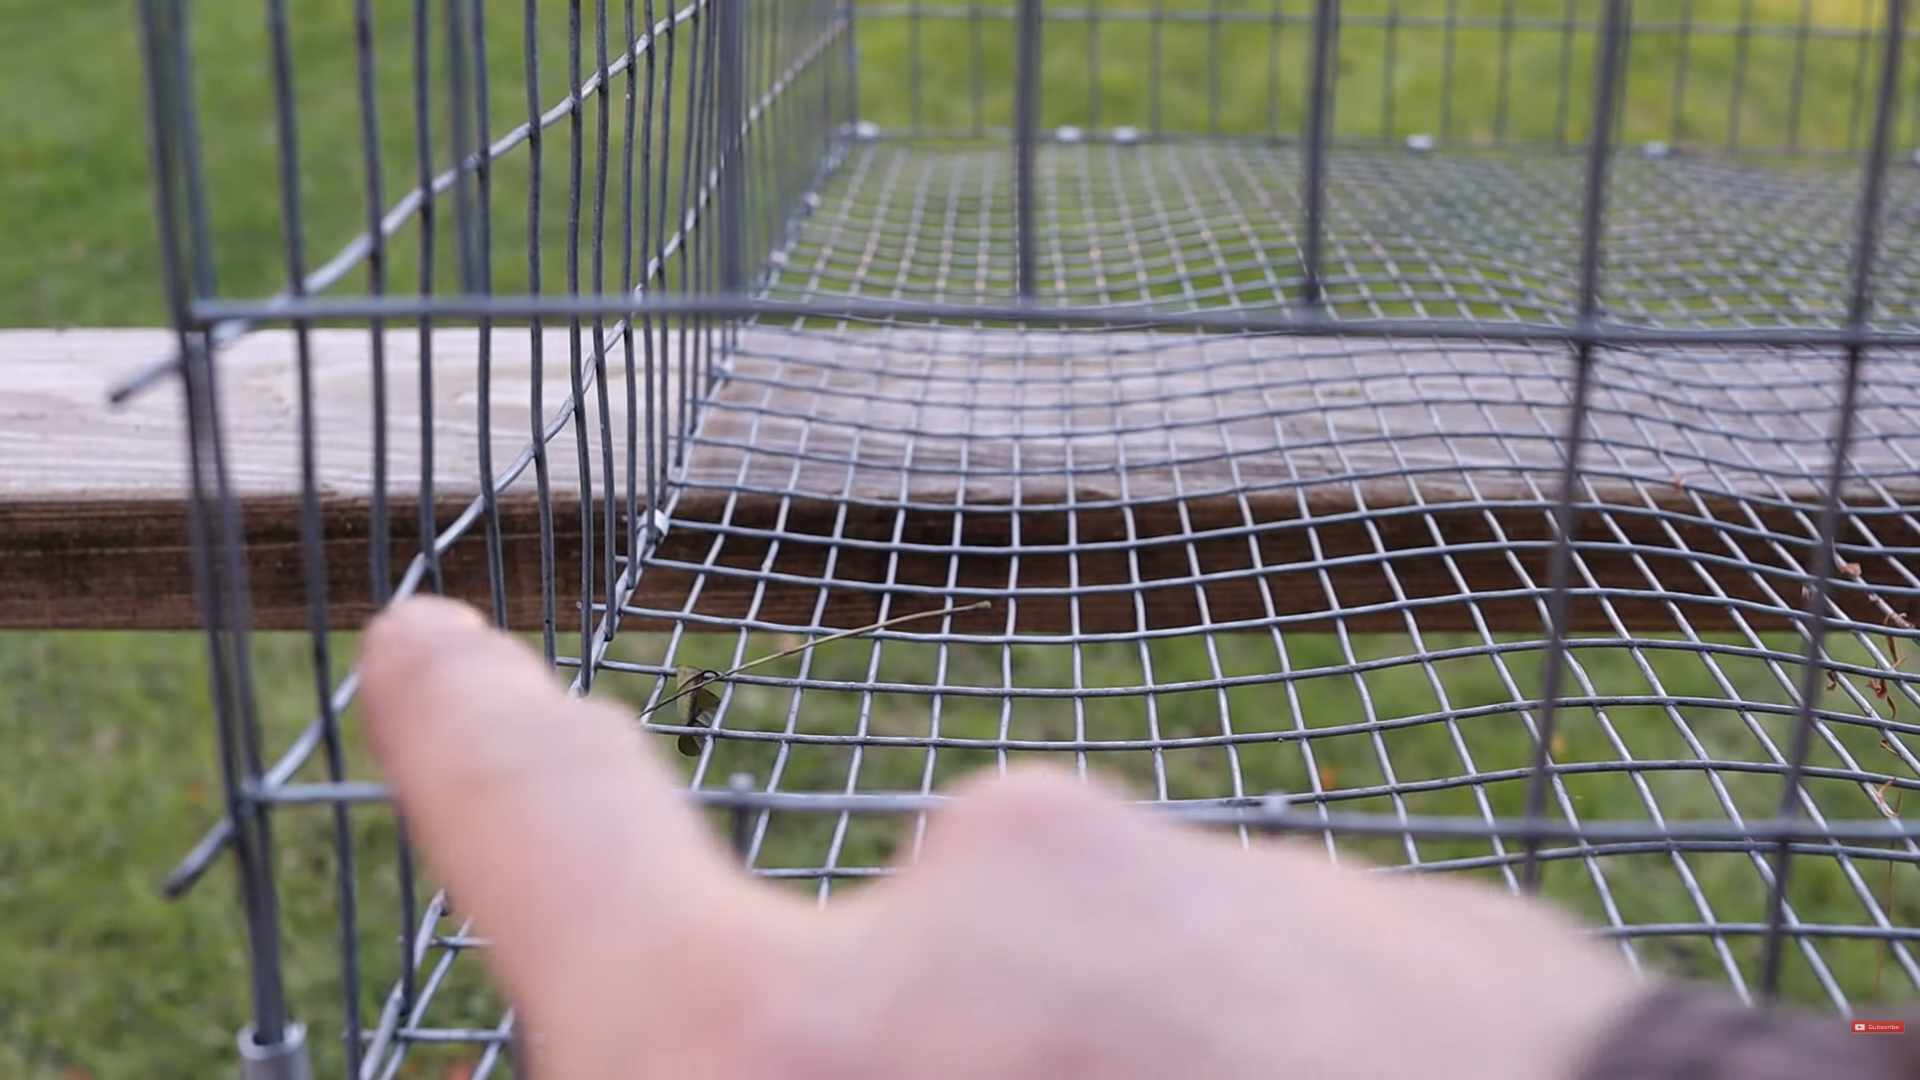
Cage Floor (Very Important)
The cage floor supports your rabbit’s weight, so wire thickness matters.
Wire size: ½ inch x 1 inch
Gauge:
Minimum: 16 gauge
Ideal: 14 gauge (harder to find)

Lower gauge numbers mean thicker wire. Thicker floors help prevent sagging and sore hocks.
Cage floors get a bad reputation mostly because of overfeeding. Keep your rabbits at a healthy weight and sore hocks are rarely an issue.
Cage Floor Bottom: A Critical Choice (Read This Carefully)
The cage floor bottom is one of the most important decisions you’ll make when building rabbit cages—and it’s often overlooked.
Unlike most of the cage wire we use (which you can find on Amazon using our links), cage floor wire deserves extra attention, especially if: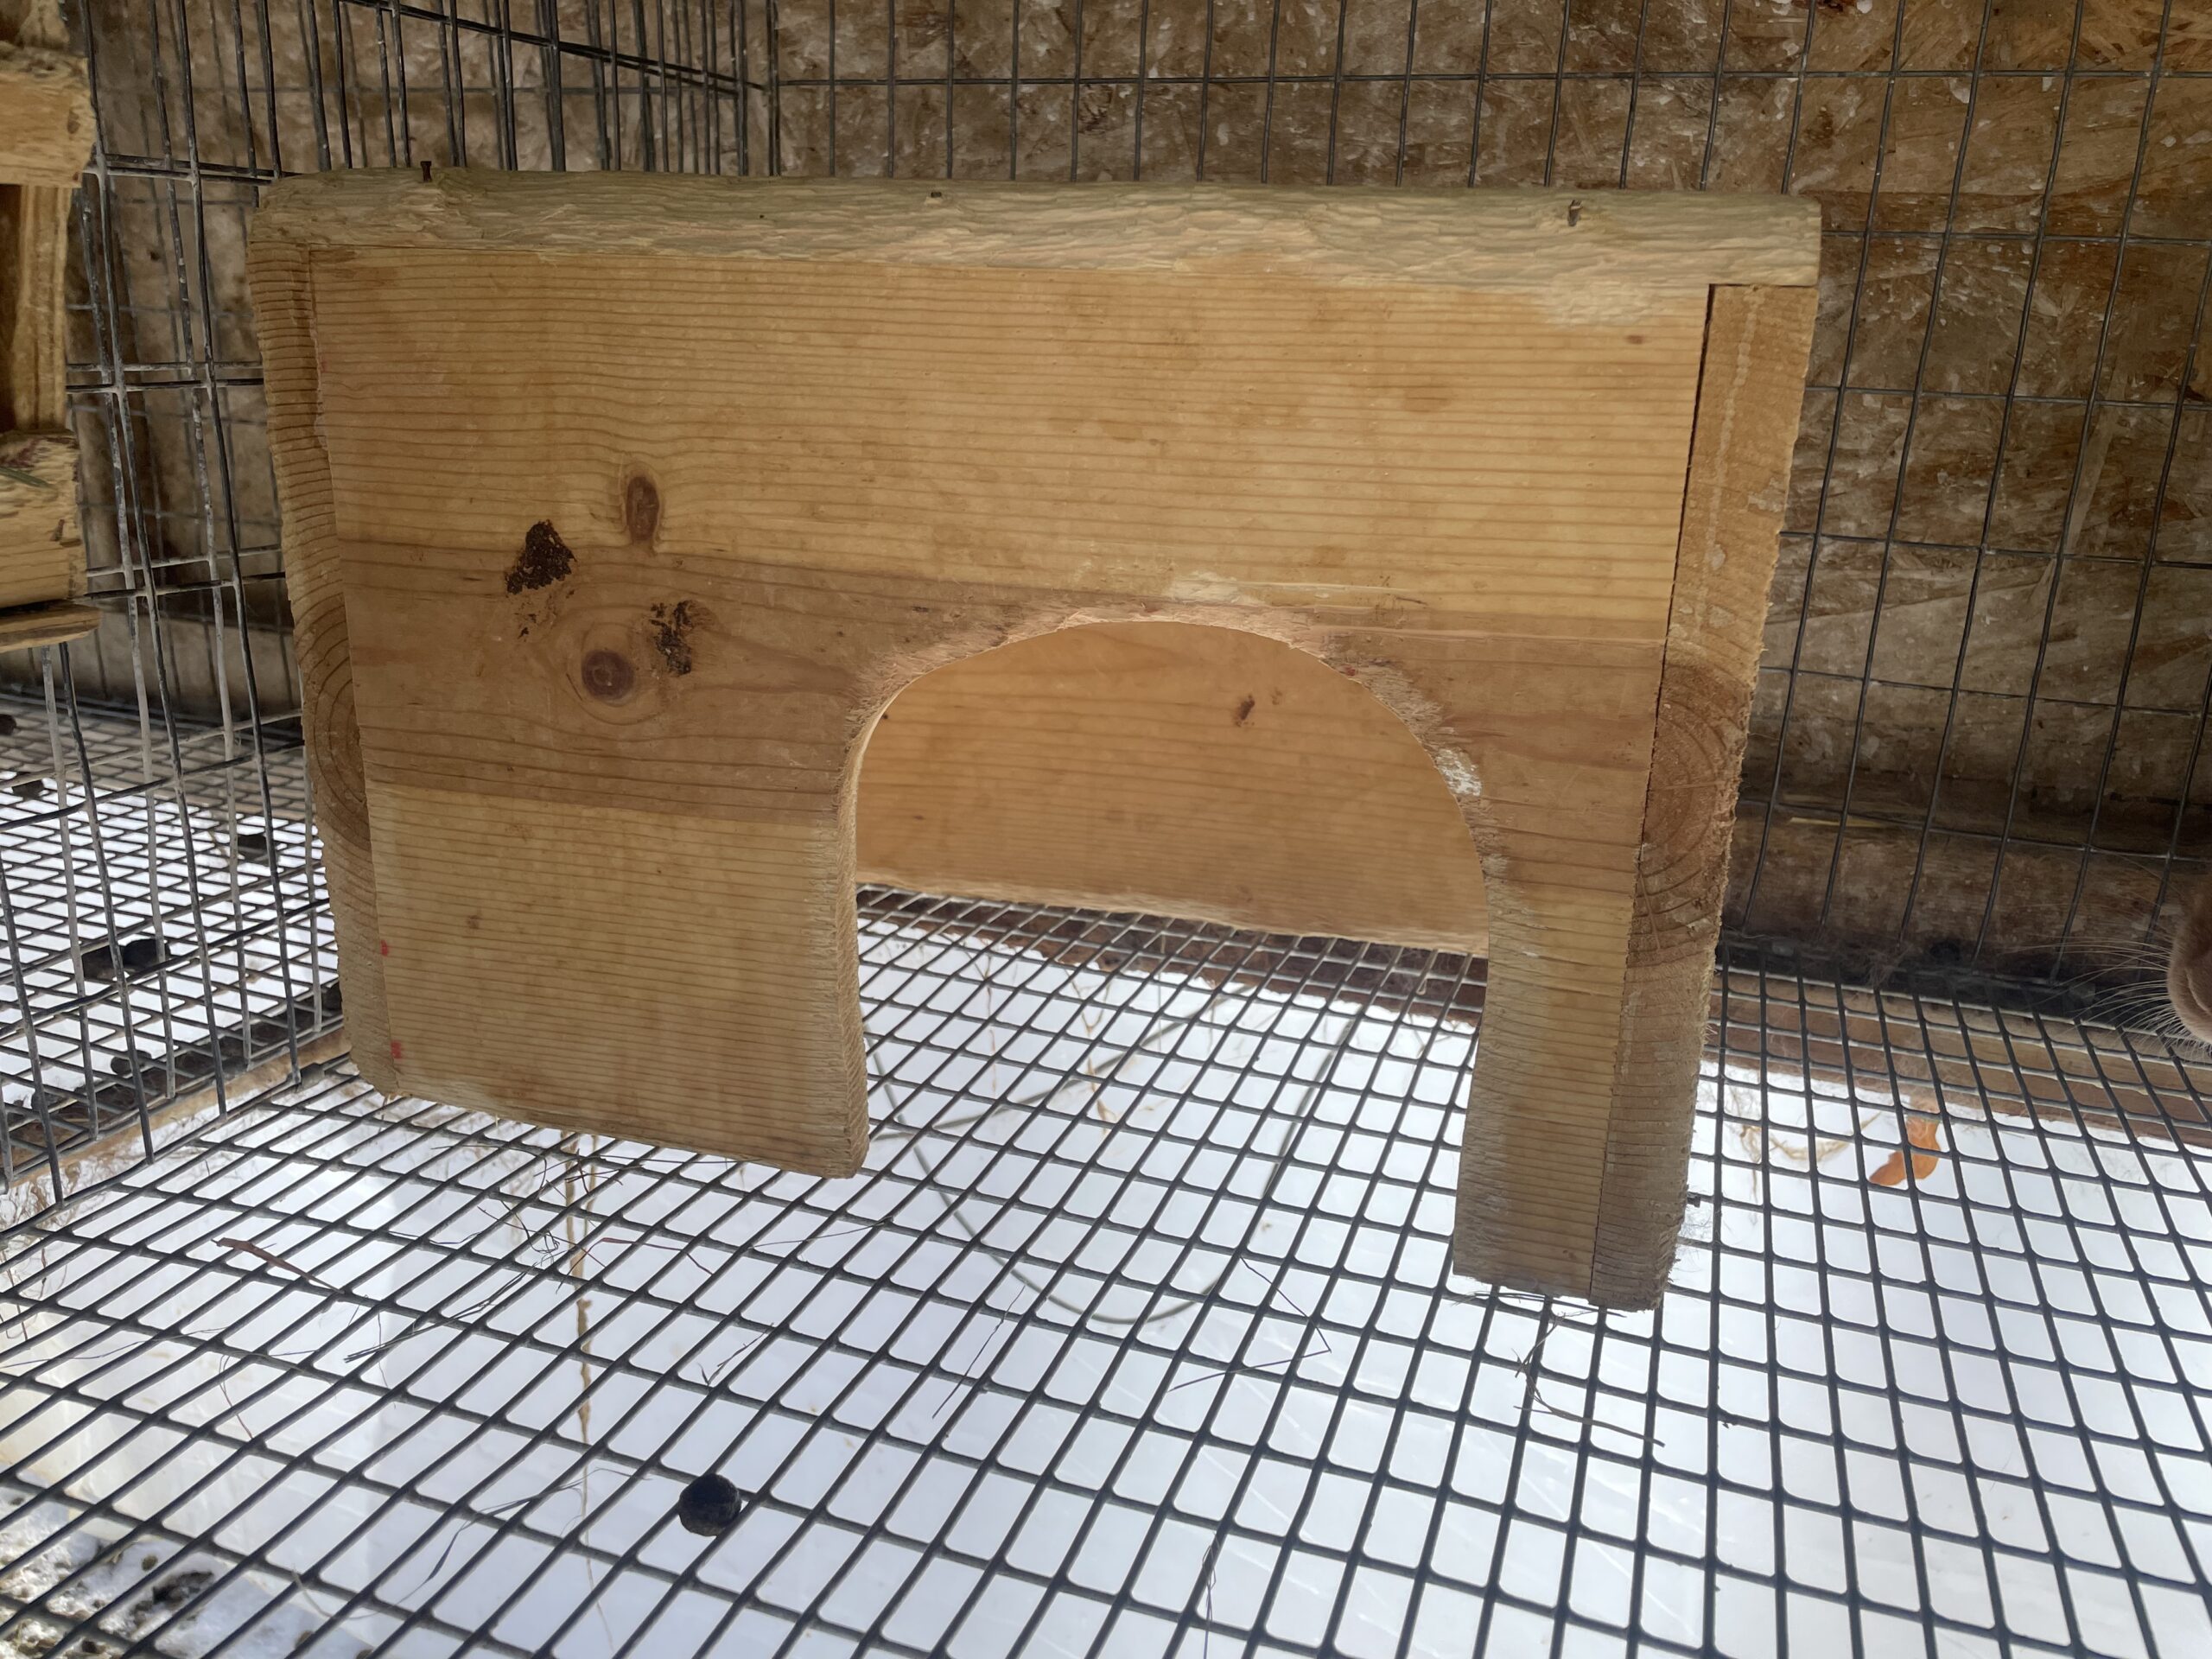
You raise rabbits larger than small breeds
You use nesting boxes or hide boxes
You want cages that stay flat and strong long-term
Recommended Cage Floor Specifications
Wire size: ½ inch x 1 inch
Gauge: 14 gauge (14G) — highly recommended
While 16G flooring can work, 14G is strong enough to carry the extra load from:
Heavier rabbits

Nest boxes
Hide boxes
Thinner wire will eventually bow or sag, which can cause discomfort, poor drainage, and structural issues. A flat, rigid floor protects your rabbits and extends the life of your cages.
Where to Buy True 14G Cage Floor Wire
We recommend Klubertanz for 14G cage wire. They do things the old-fashioned way and focus on quality and customer service.
Klubertanz offers:
14G ½” x 1″ cage floor
Rolls or precut pieces
Knowledgeable support to help you order the right material
How to Place an Order with Klubertanz
Phone (preferred): 1-800-237-3899
They prefer phone orders so they can provide accurate shipping estimates and product guidance.Email: klubertanz@ticon.net
Fax: 608-884-7509
Mail: Order using the printed catalog order form
A free paper catalog is available upon request. [Online Catalog]
If you’re serious about building cages that last and supporting the health of your rabbits, this is one place not to cut corners.
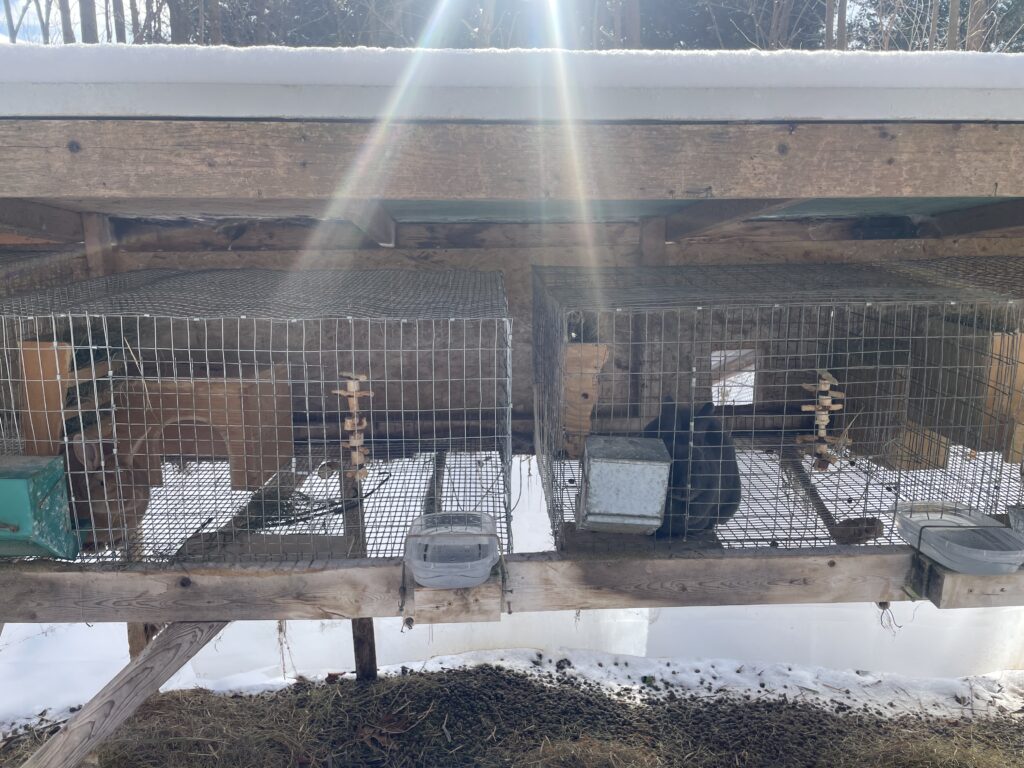
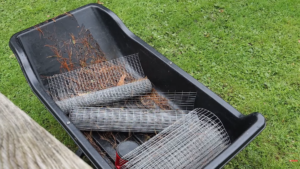
Cage Dimensions We Use:
30″ wide x 30″ deep x 18″ tall breeder cage
- 36″ wide x 30″ deep x 18″ tall grow-out cage
This size works well for breeding does, grow-outs, and general housing.
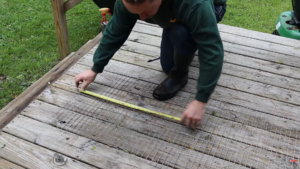
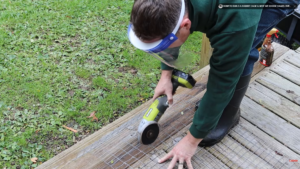
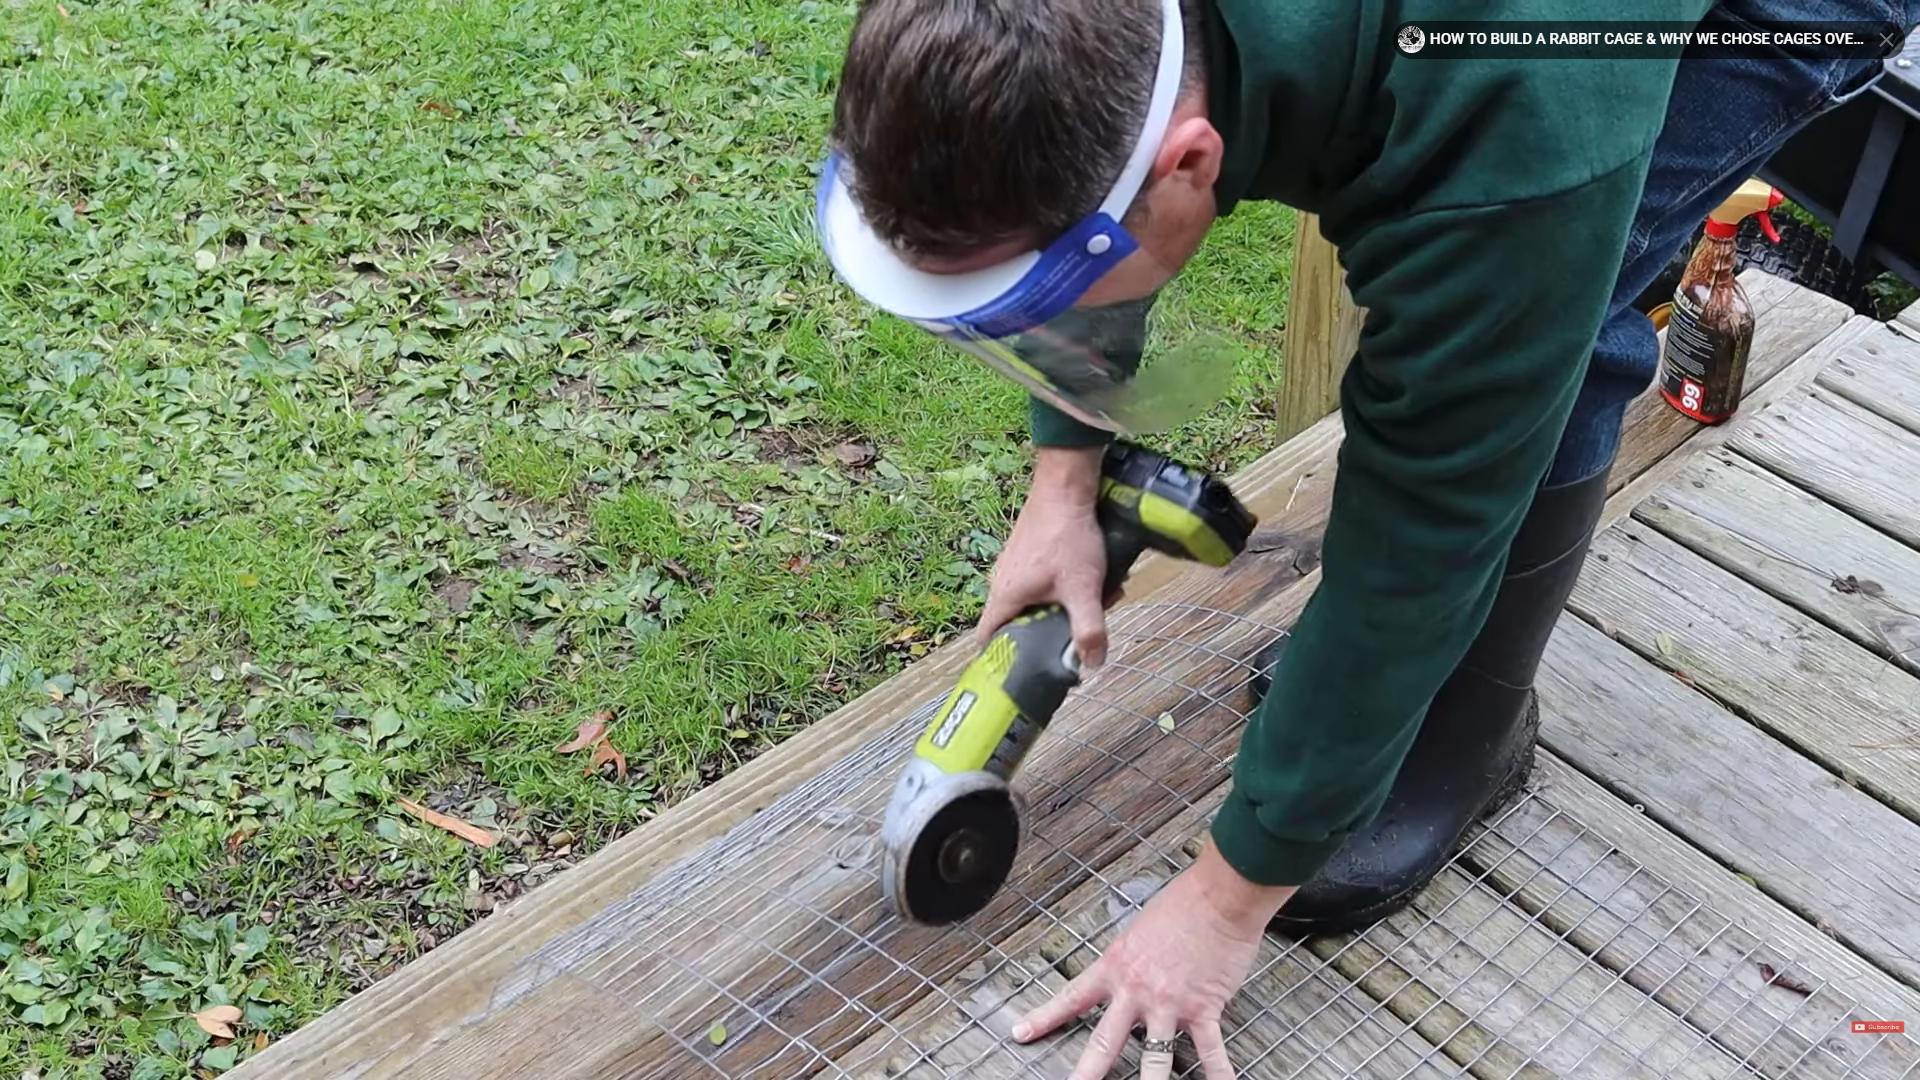
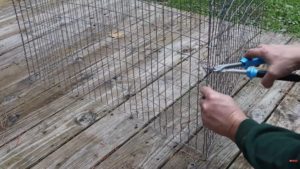
Step 1: Cut the Side Panels
Cut four side panels, each 18 inches tall
Use a 24-inch roll and trim off the extra 6 inches

You can cut on:
A picnic table
A deck
A sidewalk
Let the cut line hang over the edge so your cutters don’t bind.
Step 2: Cut the Top Panel
Cut a 30 or 36-inch section from your roll
Trim it down to 30 x 30 inches by cutting off 6 inches if your not making a grow-out cage

This gives you a perfectly square top.
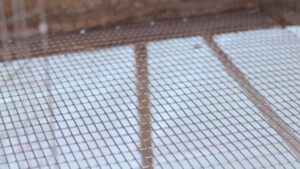
Step 3: Cut the Floor Panel
Use ½ inch x 1 inch wire
Cut a 30 x 30 inch piece
Most rolls come 30 inches wide, so you only need one cut.
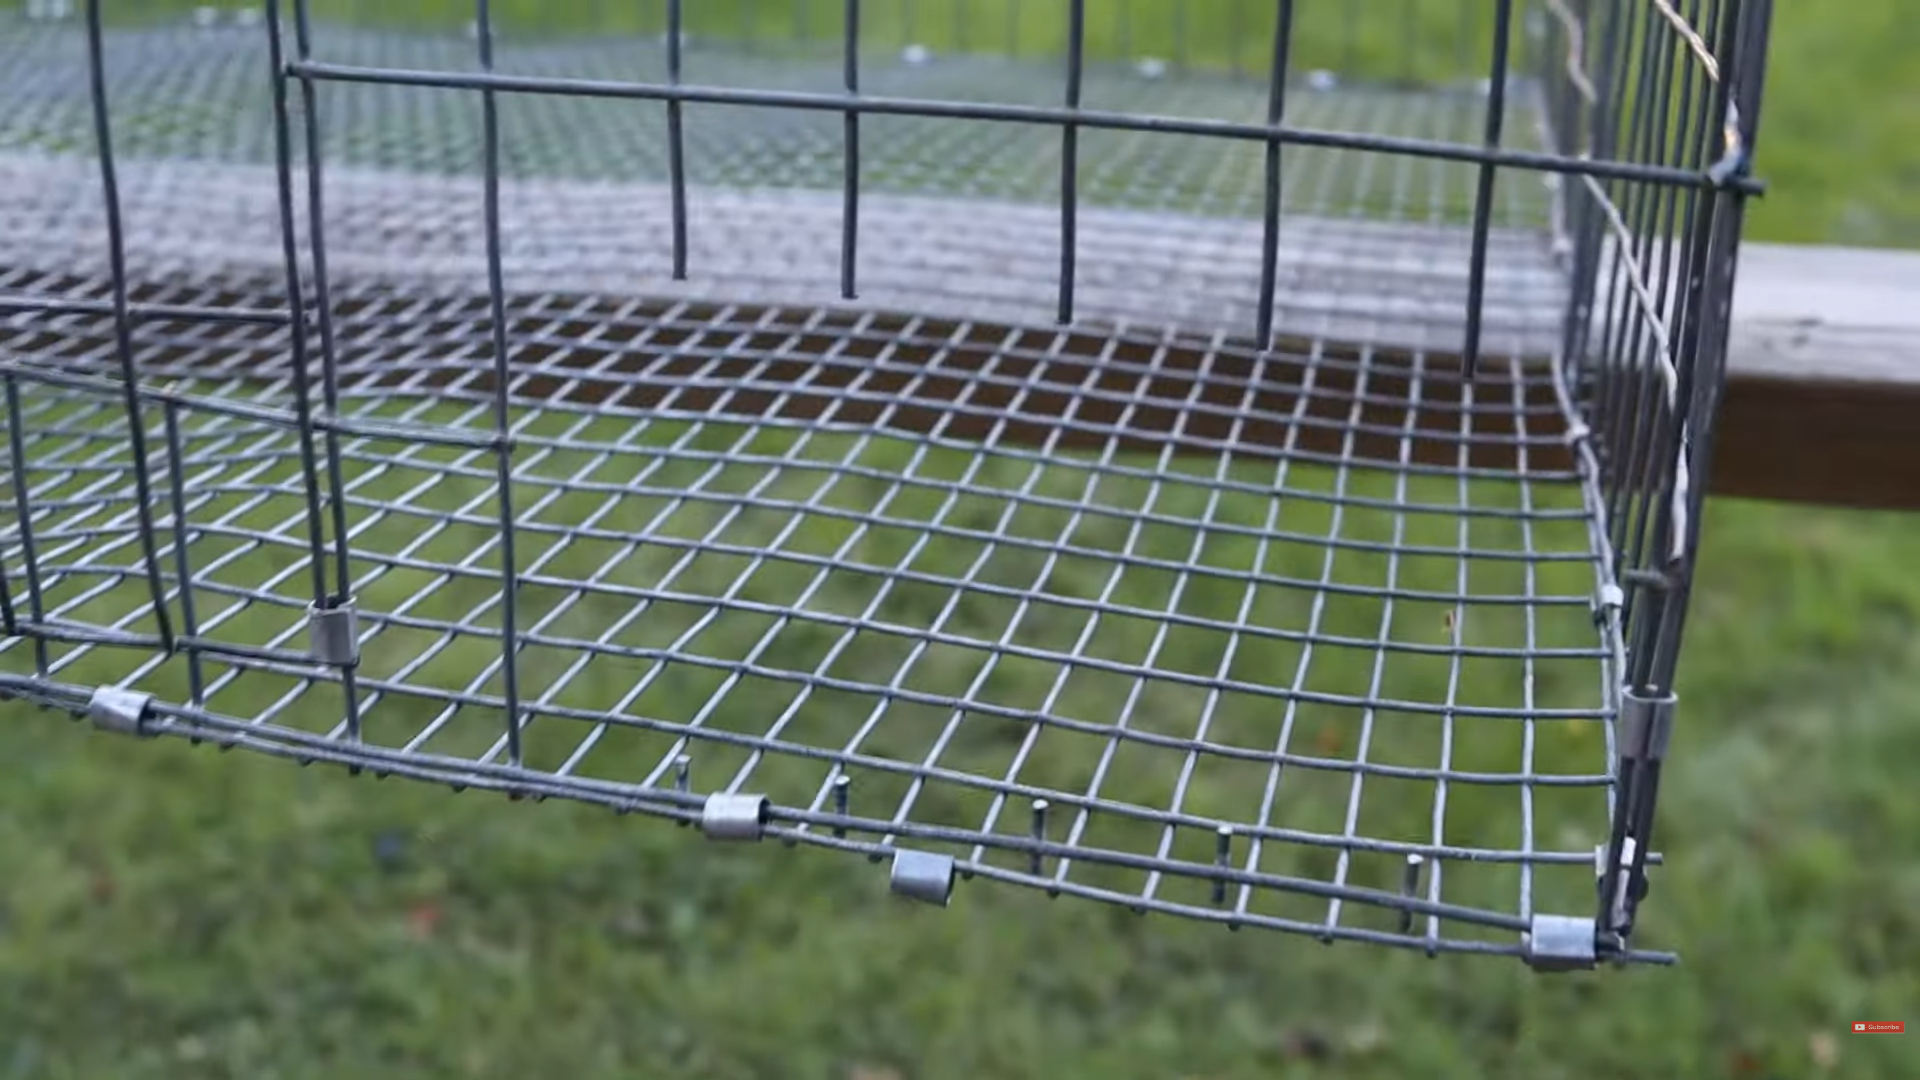
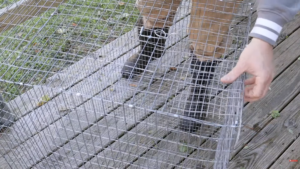
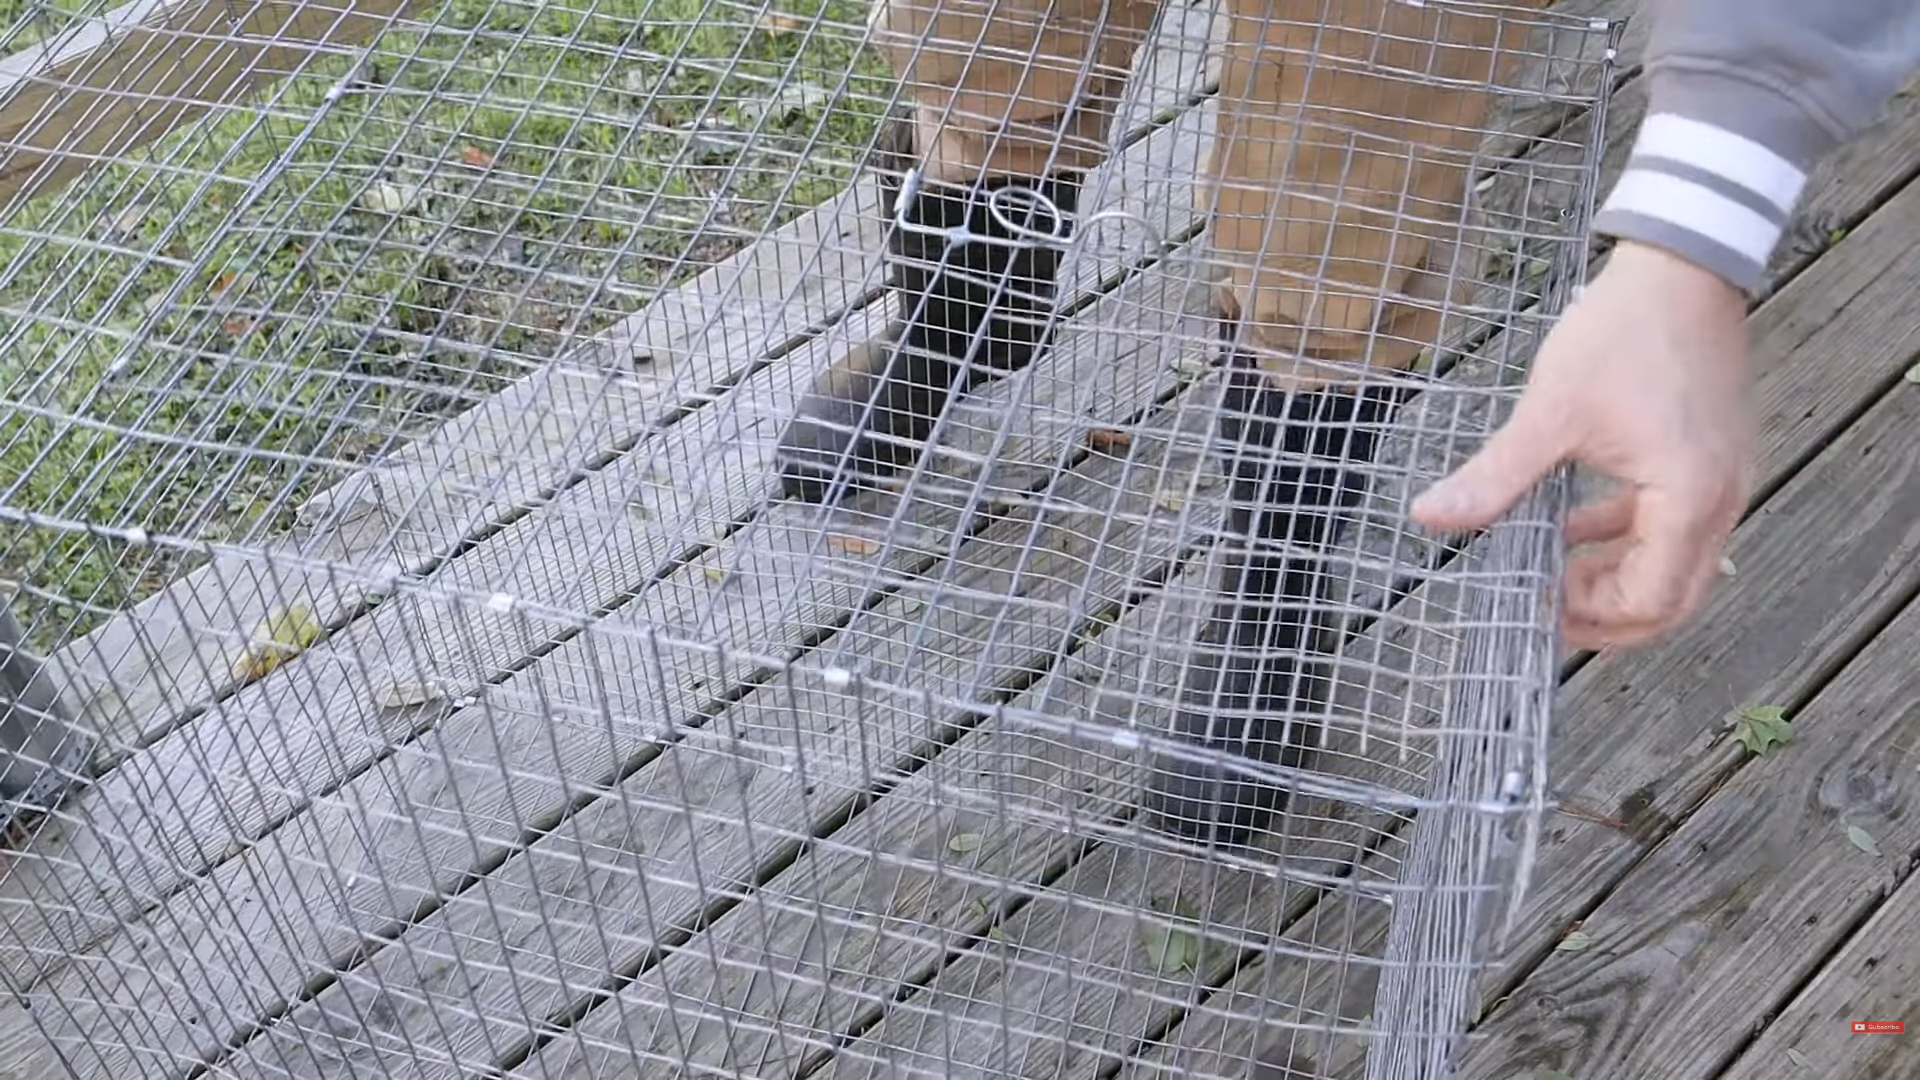
Step 4: Assemble the Cage
Attach two side panels together
Attach the remaining two panels
Form a box shape
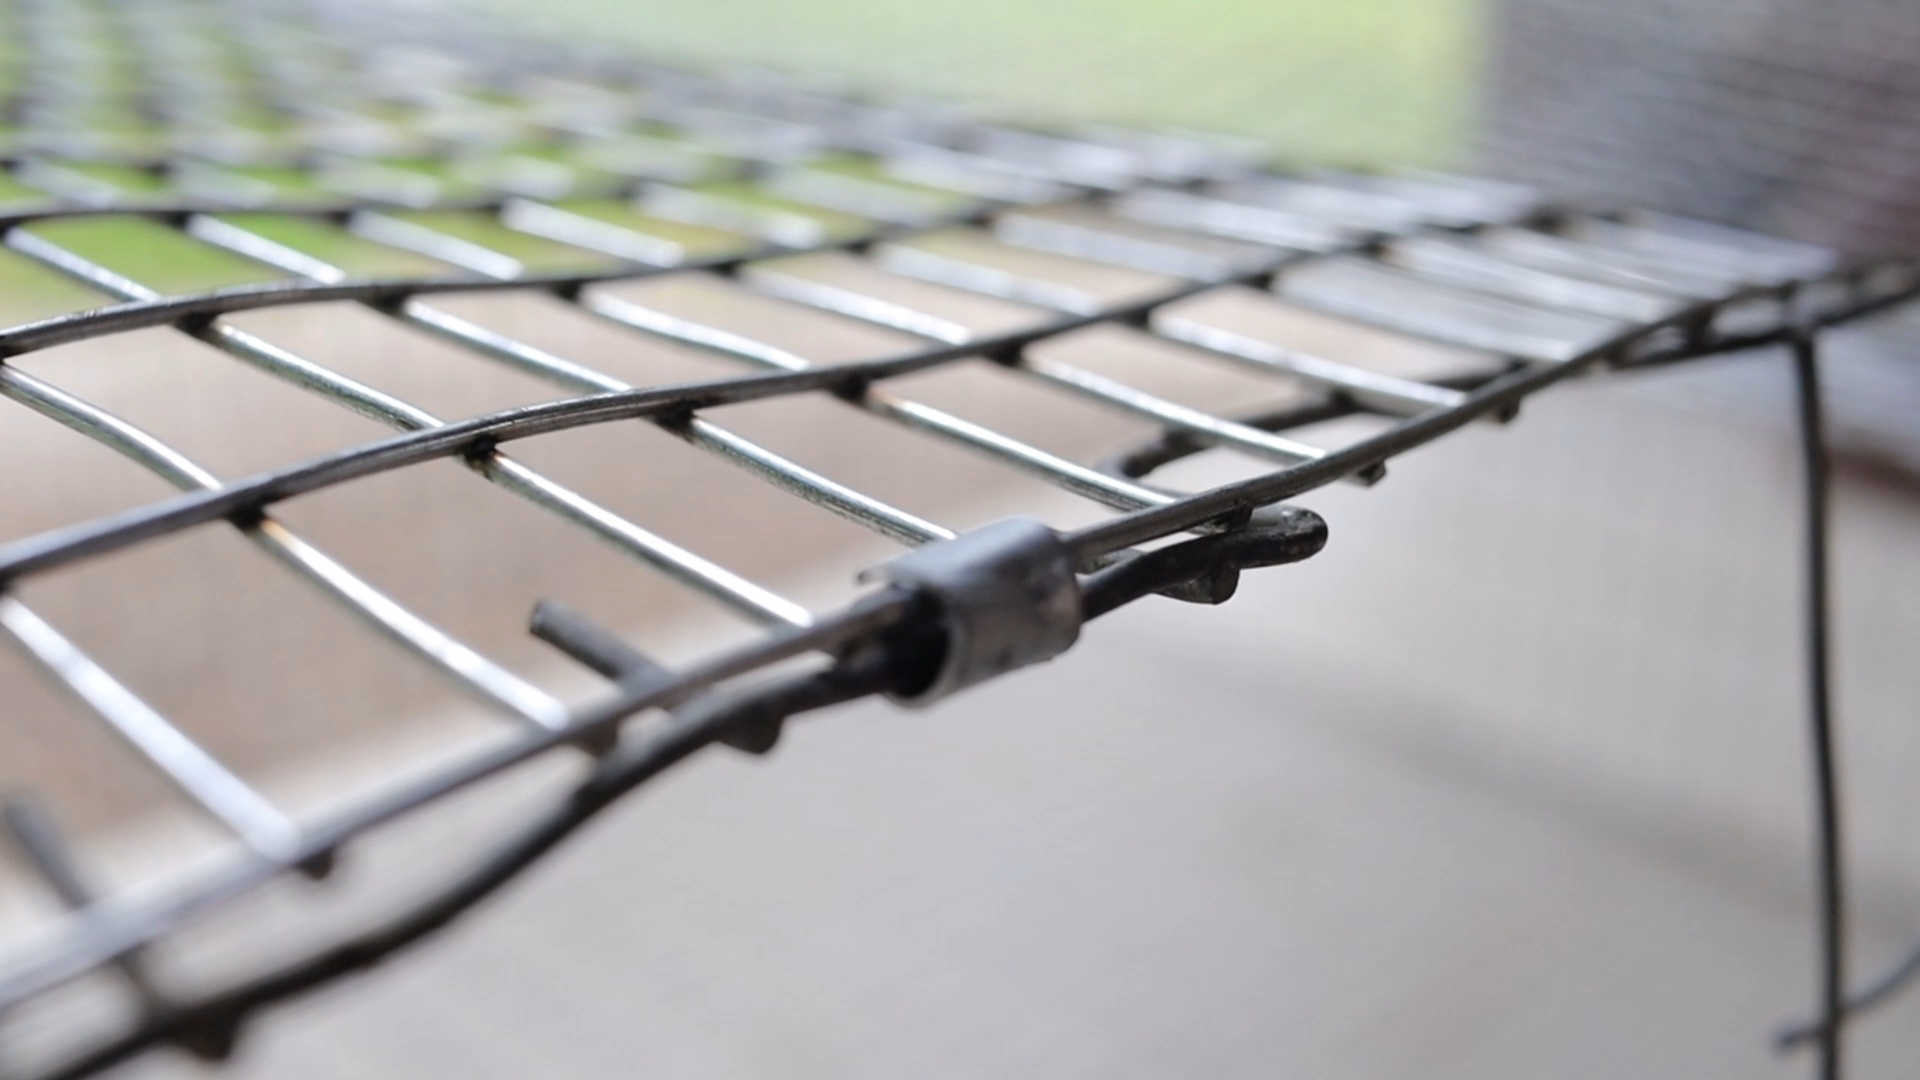
Secure seams with J-clips (about 3 per seam)
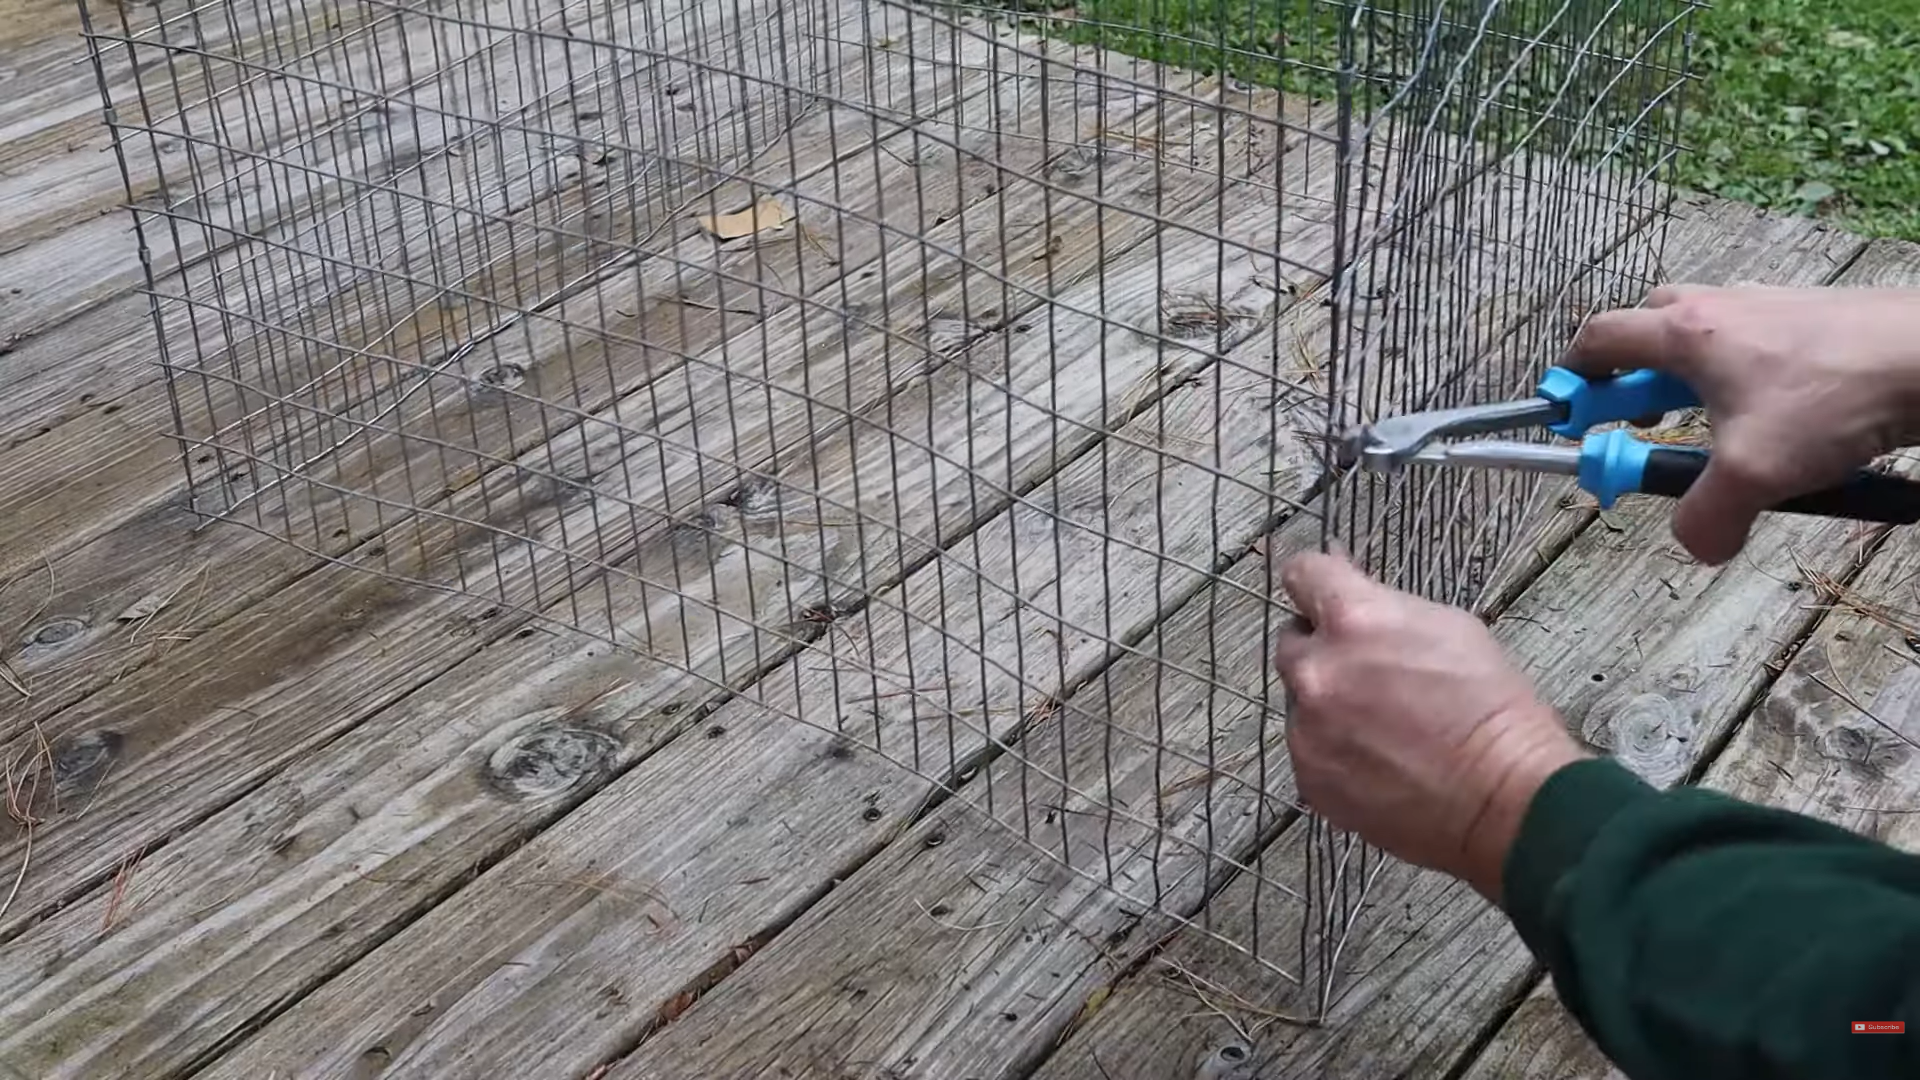
Pro Tip
When attaching the top and bottom: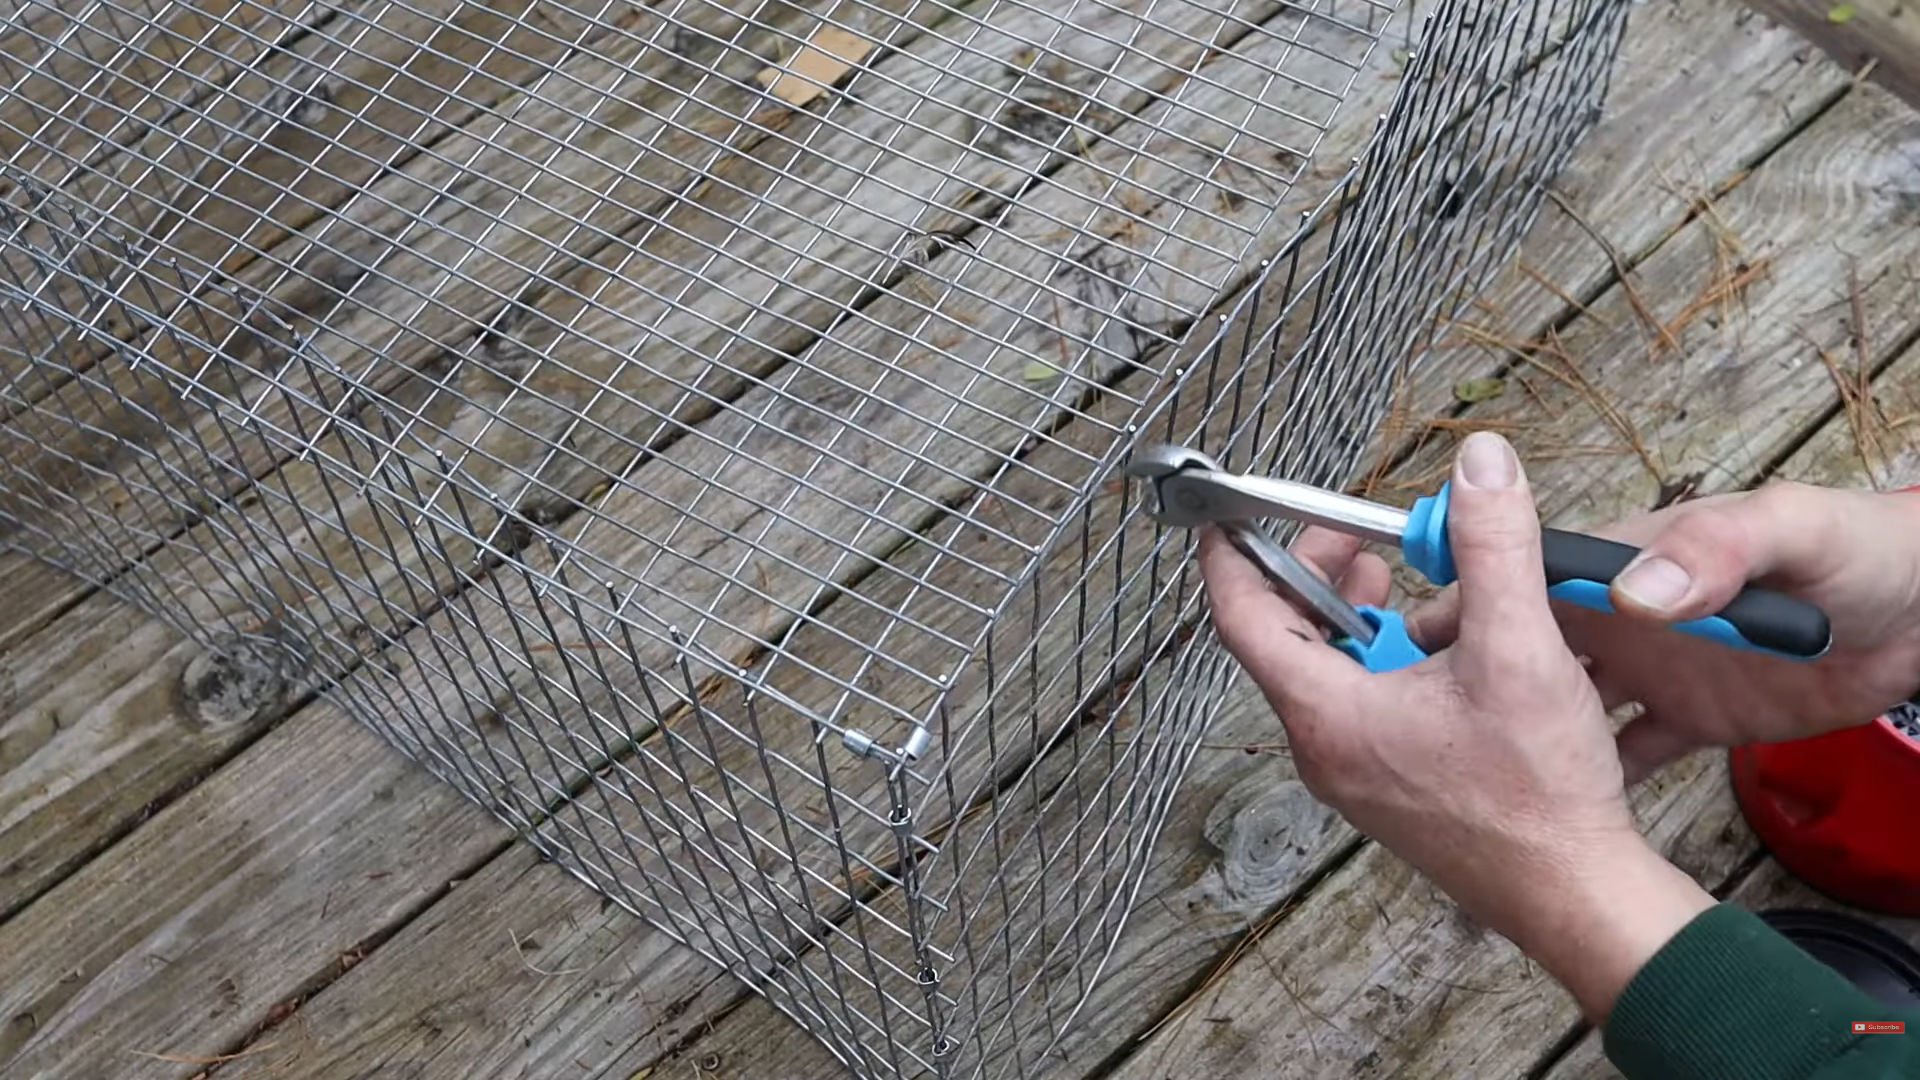
Start in a corner, not the middle
Work your way across evenly
This prevents the cage from pulling out of square.
Step 5: Cut and Install the Door
We use hide boxes that are 11.5 inches square, so we cut:
12-inch door opening
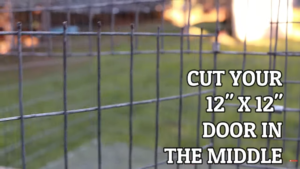

Door Rules
The door must be larger than the opening
It needs overlap on all sides so rabbits can’t push through
If the wire doesn’t line up perfectly, clamp it and make it work. These cages are very forgiving.
Step 6: Feeder and Water Openings
Feeder Opening
We use smaller J-feeders
Cut out 5 wire spaces
Water Bowl System
Cut 6 wire spaces

Remove about half the wire height
This prevents:
Kits pulling water bowls out
Kits jumping out of the cage
Mistakes Happen — Here’s How to Fix Them
If you cut the wrong section (it happens):
Use leftover cage wire
Patch the hole with J-clips
These small patch jobs are strong and perfectly safe. We’ve fixed plenty over the years.
Final Thoughts on Rabbit Cage Building
You can build cages by bending the sides down, which is faster and easier on tools. However, cutting each panel separately:
Produces a stronger cage
Gives better alignment
Results in a more professional build

It may cost you a few extra cutter wheels, but the end result is worth it.
If you’re serious about raising healthy rabbits and running a clean, efficient rabbitry, this cage design will serve you well for years.
Thanks for reading, and we’ll see you in the next guide.